Replacing metal shingles requires specific skills and techniques to ensure a watertight and durable installation. Whether you’re replacing individual damaged shingles or undertaking a complete restoration, understanding the proper procedures and precautions is essential. This reliable roofing company‘s comprehensive guide will help you navigate the complexities of metal shingle replacement while maintaining your roof’s integrity.
Assessment and Preparation
Before beginning any replacement work, conduct a thorough inspection to identify all damaged shingles and underlying issues. Look for signs of corrosion, loose fasteners, or damage to adjacent shingles that might not be immediately obvious. Document the exact style and profile of existing shingles to ensure proper matching. Gather all necessary tools and materials, including replacement shingles, appropriate fasteners, sealants, and safety equipment. Weather conditions should be considered – avoid replacement work during rain, high winds, or extreme temperatures that could affect installation quality.
Removal Techniques for Metal Shingles
Careful removal of damaged shingles prevents damage to surrounding materials. Start by loosening and removing fasteners from the damaged shingle and those securing overlapping shingles above it. Use appropriate tools to gently lift the surrounding shingles without bending or damaging them. If sealant or adhesive was used, carefully break the bond using a flat bar or specialized tool. Preserve any underlayment during removal – if damaged, it must be replaced to maintain proper moisture protection. Document the original installation pattern to ensure correct replacement.
Installation Process and Methods
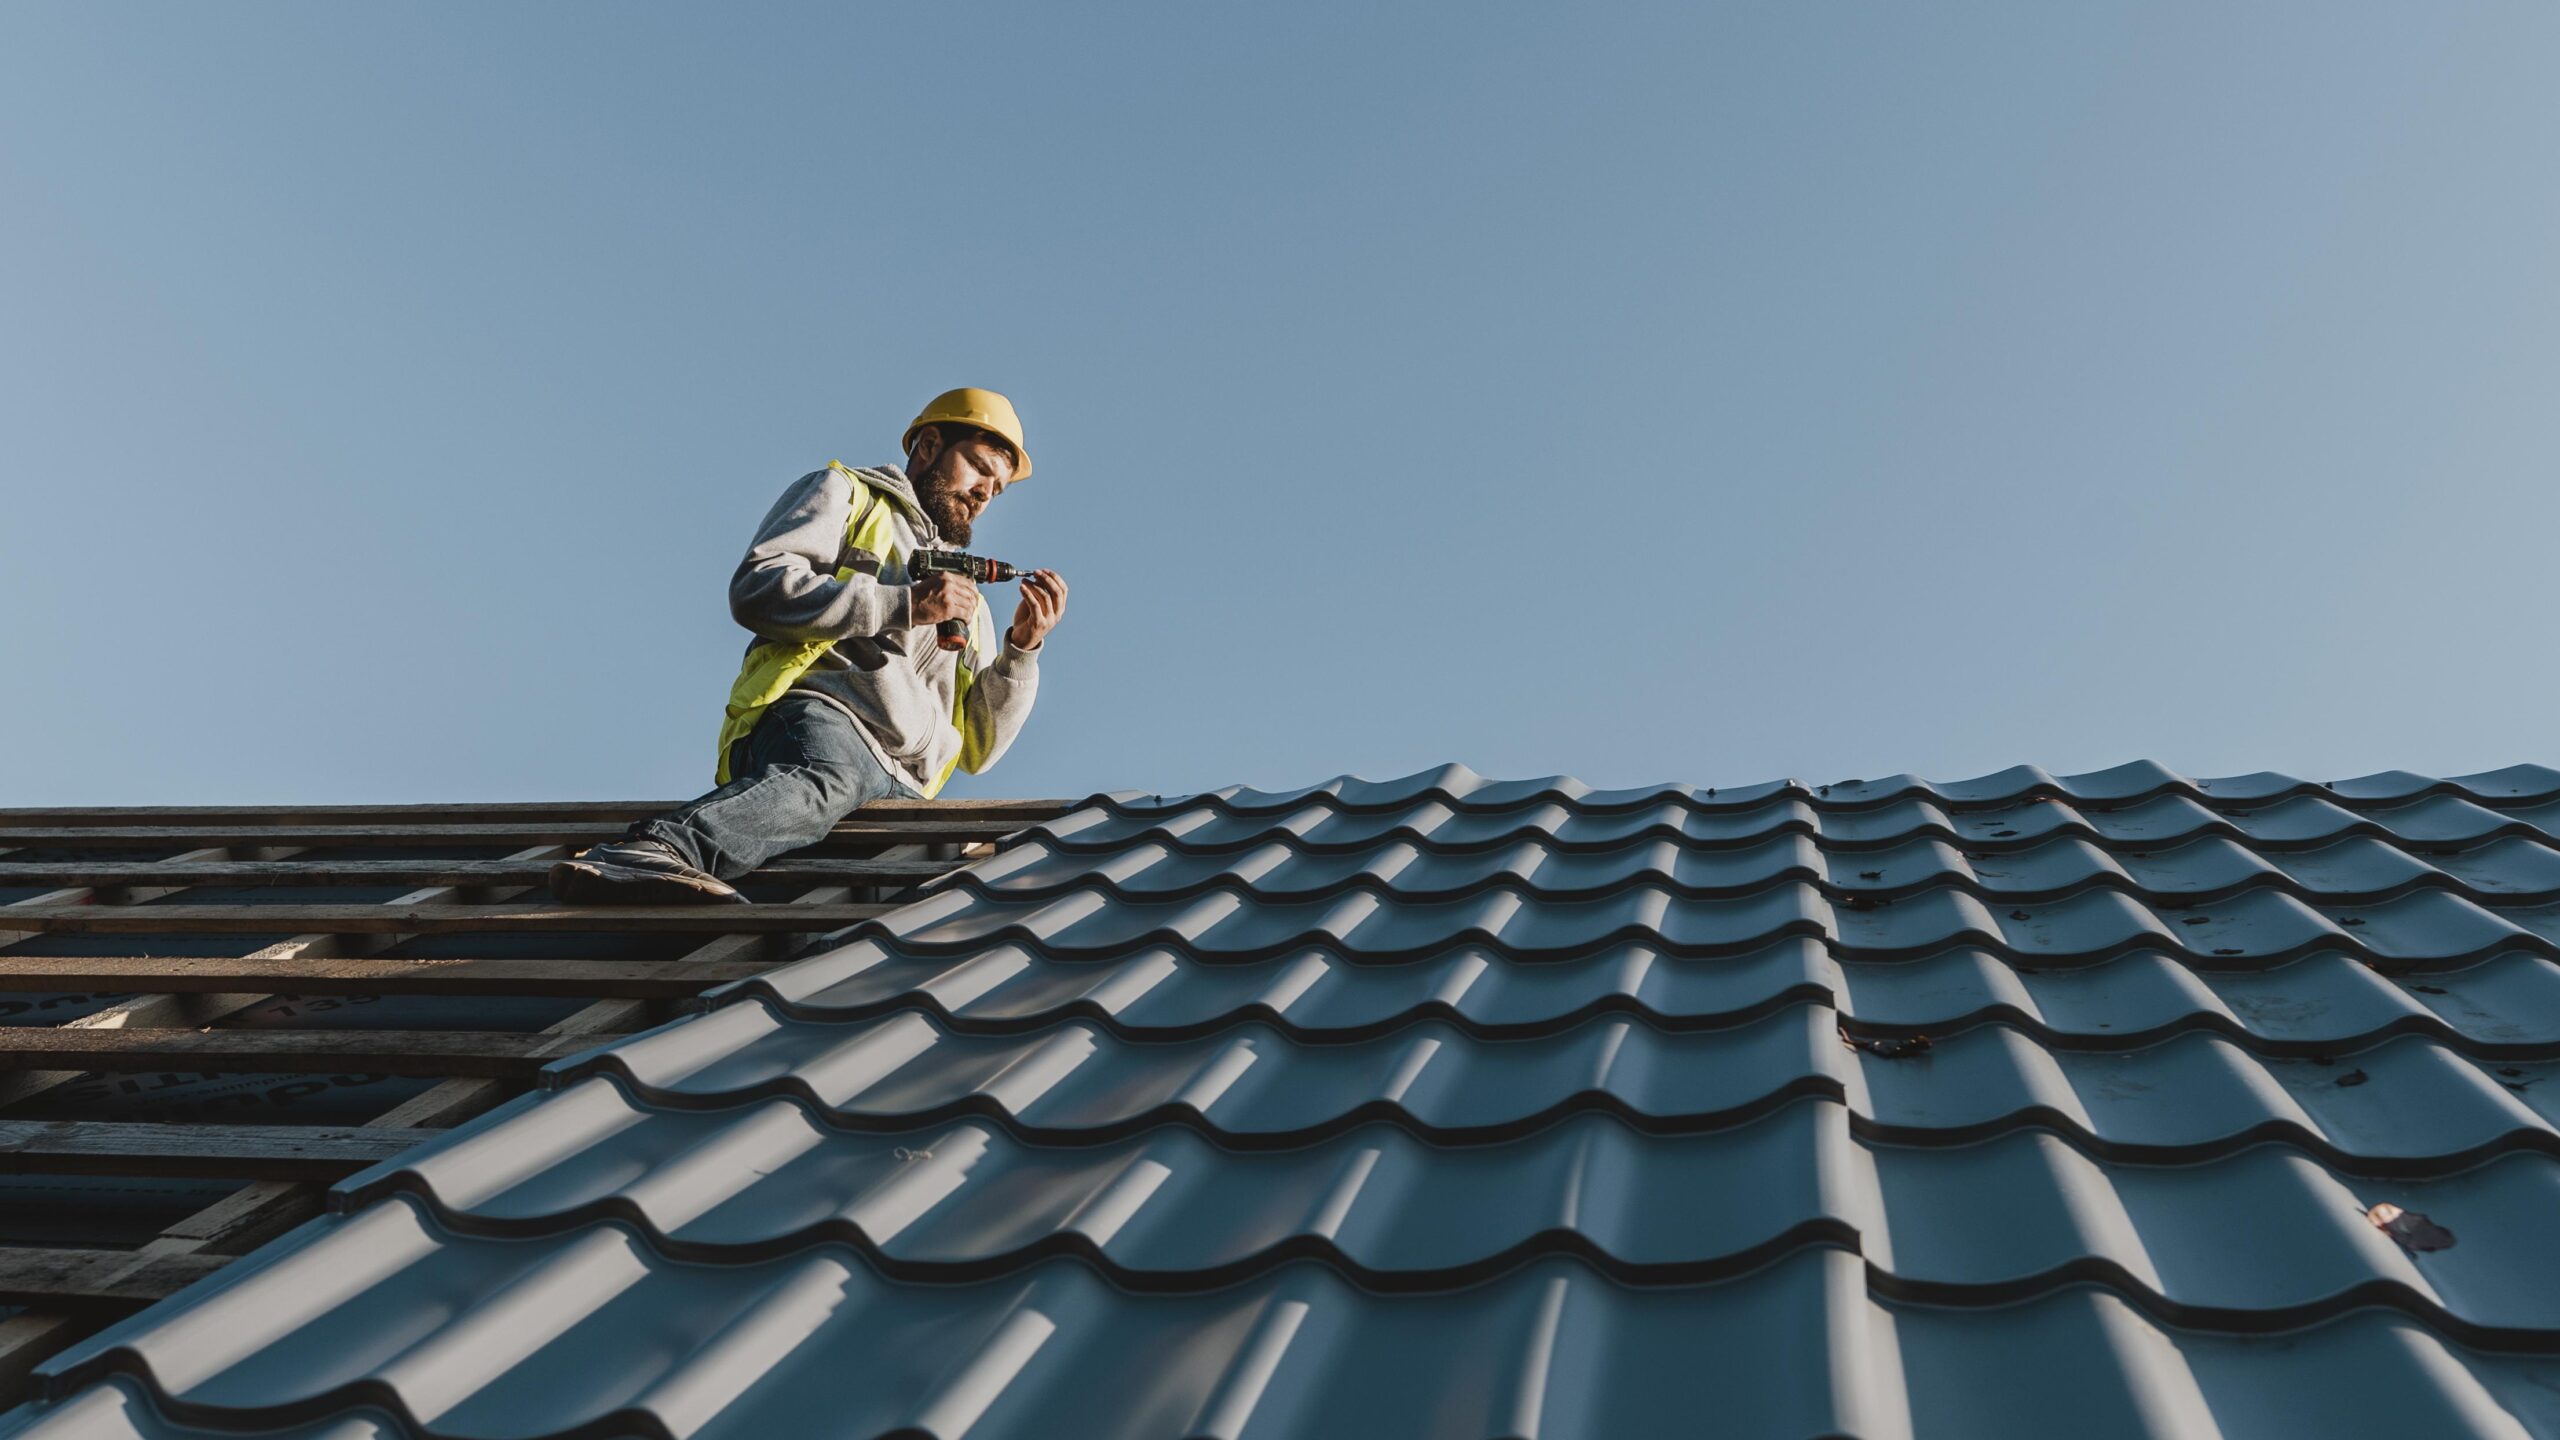
Installing replacement shingles requires precise attention to detail. Begin by inspecting and preparing the exposed area, ensuring the underlayment is intact and properly positioned. If necessary, apply new underlayment according to manufacturer specifications. Position the replacement shingle carefully, aligning it with surrounding pieces. Use manufacturer-recommended fasteners, placed in the correct locations to ensure proper securement. Apply appropriate sealants or gaskets as specified by the manufacturer. Pay special attention to maintaining proper overlap and ensuring correct alignment with adjacent shingles.
Sealing and Weatherproofing Details
Proper sealing is crucial for preventing water infiltration. Apply recommended sealants along seams and joints according to manufacturer guidelines. If the original installation used butyl tape or other sealing materials, replace these with new materials of the same type. Ensure all fastener heads are properly sealed to prevent water penetration. In areas with severe weather exposure, additional weatherproofing measures may be necessary. Test the installation by checking for proper drainage patterns and potential water traps.
Quality Control and Maintenance
After replacement, thoroughly inspect the work area to ensure proper installation. Check all fasteners for correct placement and tightness. Verify that replacement shingles are properly aligned and sealed. Clean the area of any debris or excess sealant. Document the replacement work, including materials used and date of installation, for future reference. Schedule regular inspections to monitor the replacement area and ensure continued performance. Consider applying protective coatings if recommended by the manufacturer to extend the life of the repair.
Other Roofing Tips:


