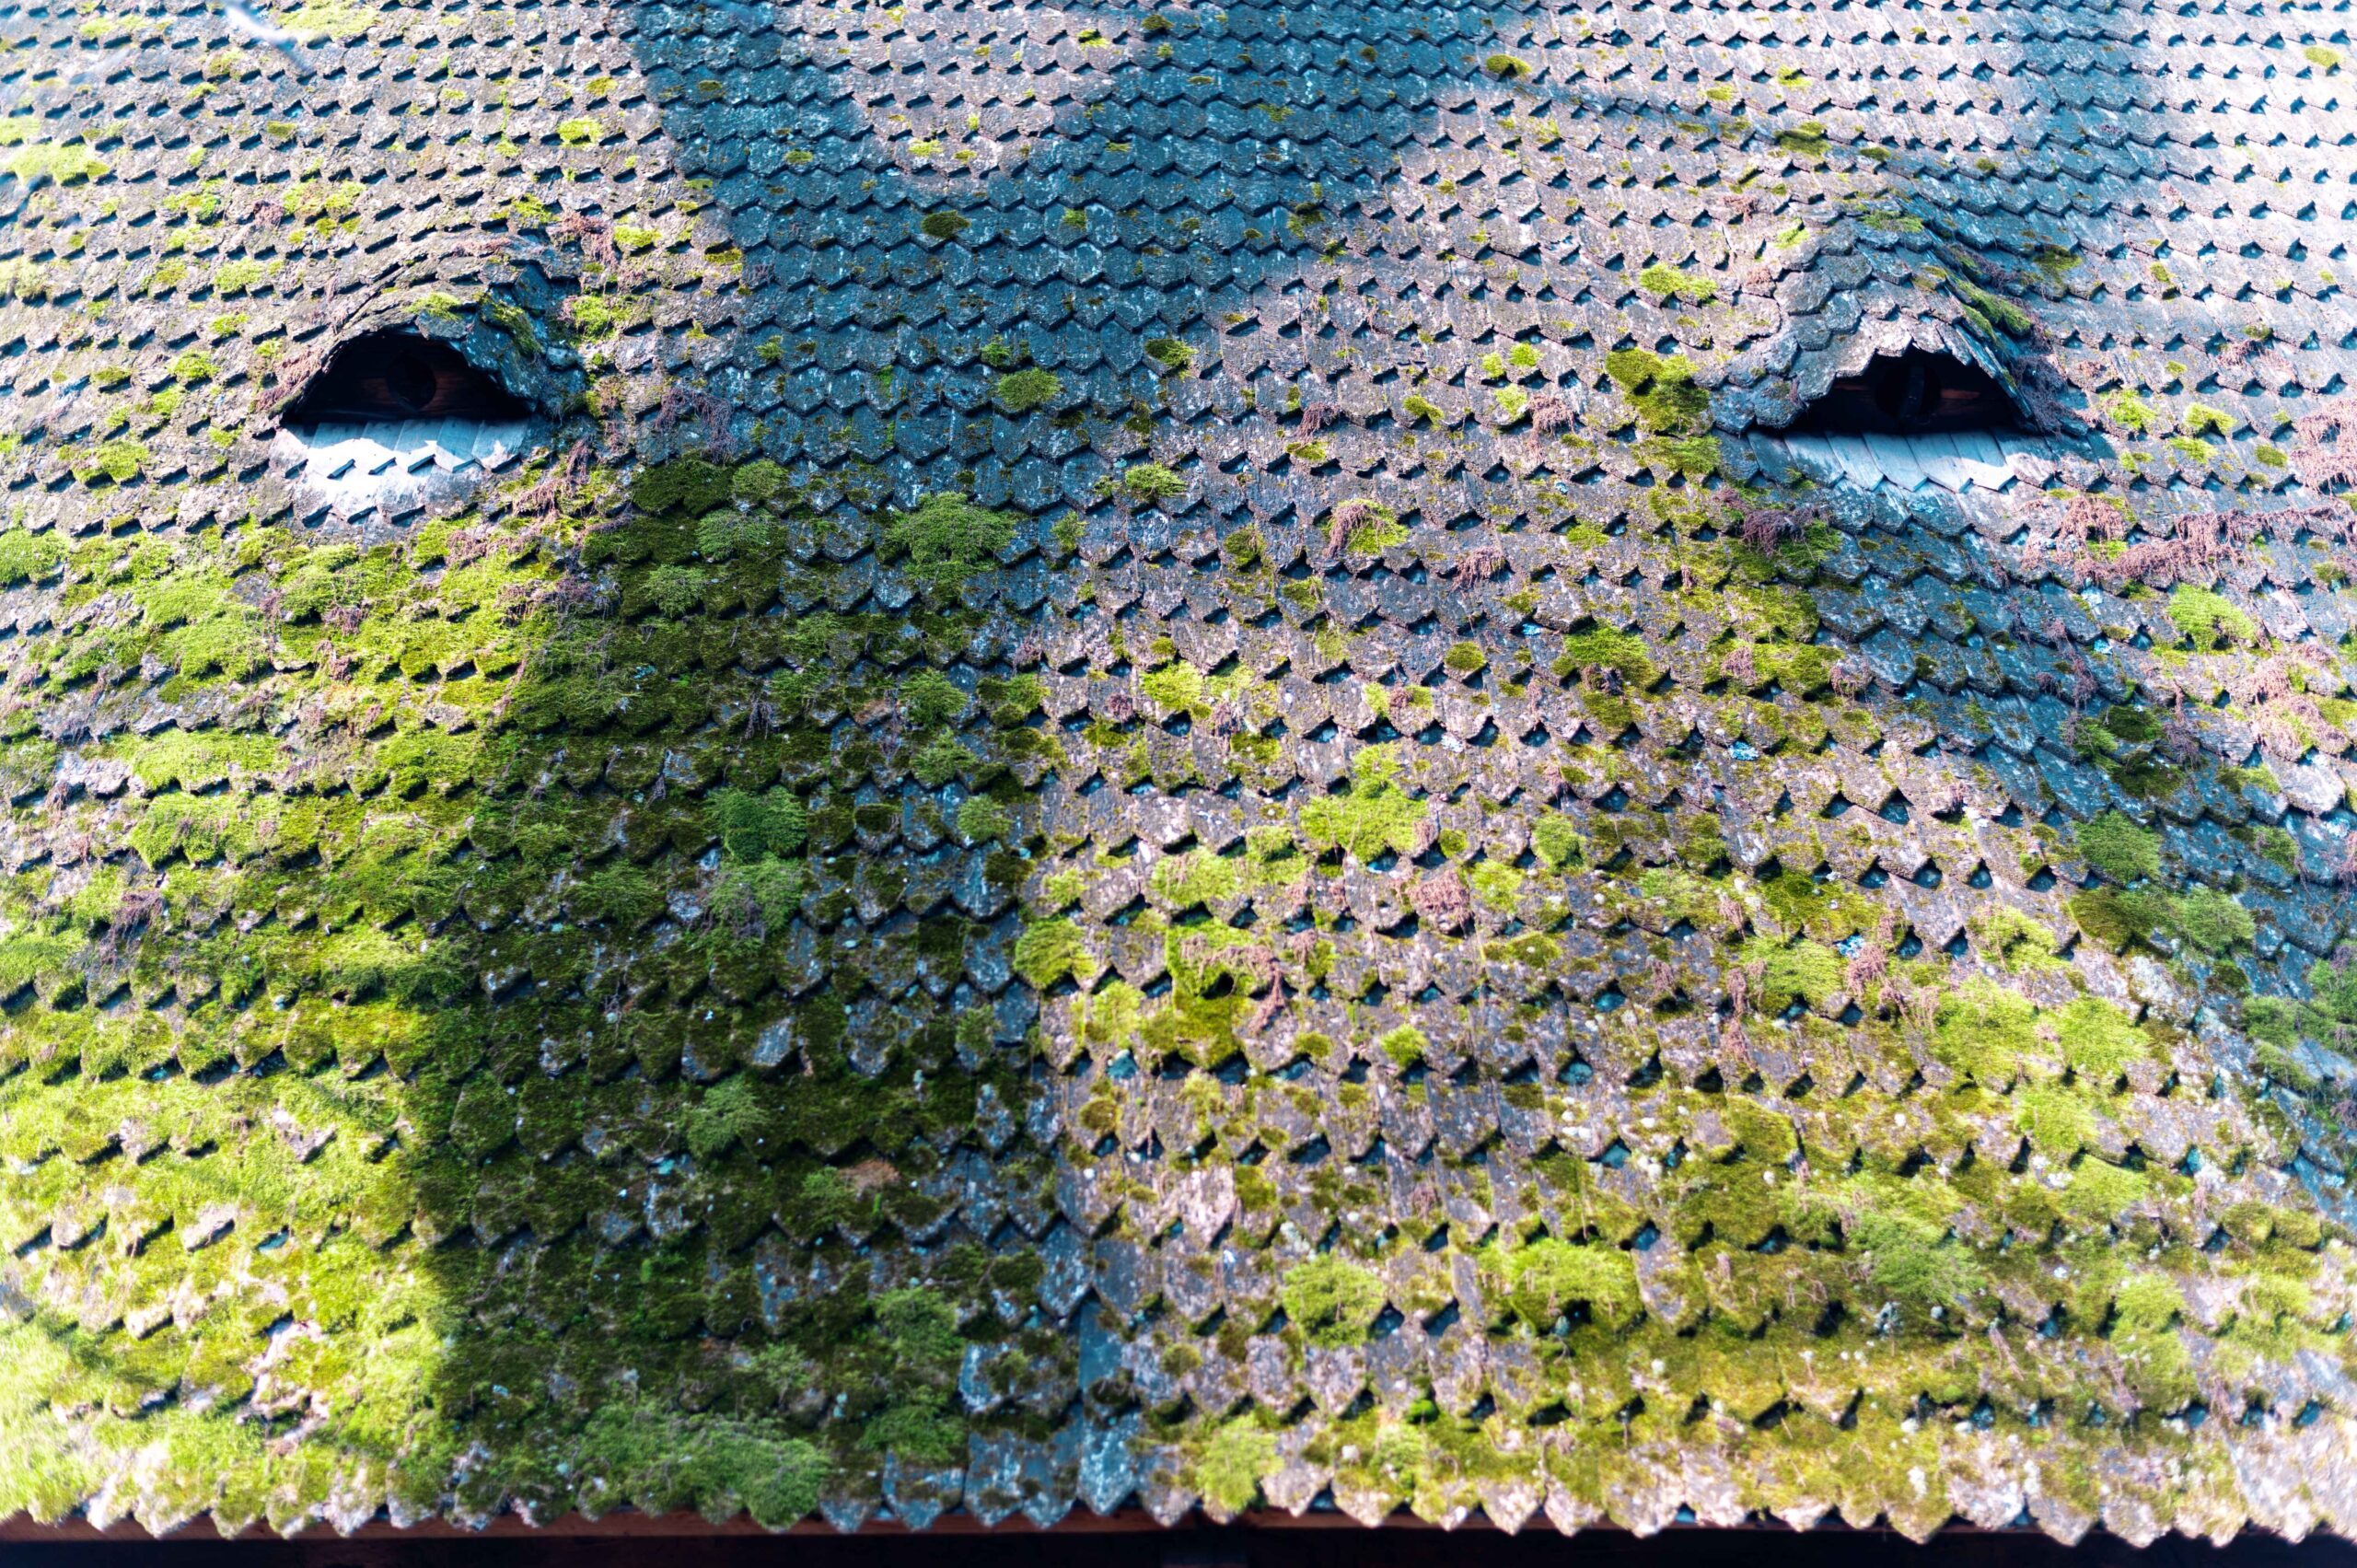
Maintaining a clean, moss-free roof is essential for preserving the integrity and appearance of your home. A local roofing company often emphasizes the importance of removing moss to prevent potential damage and extend the roof’s lifespan. This guide will help you understand how to evaluate moss growth, choose the right cleaning methods, and implement preventive measures to keep your roof in top condition.
Assessing the Moss Growth
Before beginning the cleaning process, thoroughly assess the extent of moss growth on the roof. Determine whether the moss is scattered in small patches or spread extensively. Understanding the coverage helps decide the level of cleaning required.
Additionally, identify the type of roofing material, as different materials demand specific cleaning methods. Inspect the roof for damage caused by moss, such as lifted shingles or rotting. A detailed assessment ensures you choose the safest and most effective approach to cleaning.
Choosing the Right Cleaning Solution
Selecting the proper cleaning solution depends on your roof’s material. For asphalt shingles, a mix of water and bleach or a commercial roof cleaner is often effective. Metal roofs benefit from mild detergent solutions, while tile roofs may require water and gentle soap. For wood shake roofs, a mixture of water and white vinegar is ideal to avoid damage.
Avoid using abrasive methods such as power washing, which can harm the roofing material. Test the solution on a small, hidden area before applying it across the roof to ensure it doesn’t cause discoloration or damage. Additionally, consider environmentally friendly options to protect nearby plants and ecosystems. The right solution ensures effective moss removal while maintaining the roof’s integrity.
Preparing the Roof for Cleaning
Proper preparation is key to a successful cleaning process. Start by removing debris like branches, leaves, or other organic matter with a broom or leaf blower. Be cautious to avoid damaging the roof while clearing away debris.
Inspect and trim overhanging tree branches to increase sunlight exposure, as moss thrives in shaded areas. Check the gutters and downspouts to ensure they are clear and draining properly. This prevents water pooling, which creates favorable conditions for moss growth.
Applying the Cleaning Solution
Dilute the chosen cleaning solution according to the manufacturer’s instructions for safe and effective use. Apply it evenly to moss-affected areas using a low-pressure sprayer or soft-bristle brush. Work in manageable sections to ensure thorough coverage.
Allow the solution to sit on the moss for the recommended duration. This dwell time is critical for breaking down the most effectively. Avoid letting the solution dry on the roof; lightly mist-treated areas with water if necessary to keep them moist during the process. These steps ensure the moss is removed effectively without harming the roof.
Preventing Future Moss Growth
Preventive measures are crucial for keeping your roof moss-free. Trim overhanging branches to reduce shade and allow sunlight to reach the roof. Improve attic ventilation to regulate temperature and moisture levels, which discourage moss growth.
Fix leaks or damaged shingles promptly to avoid water retention. Regularly remove debris, from the roof, such as leaves and twigs, to minimize organic material that encourages moss growth. Installing zinc or copper strips near the roof’s ridge can also help inhibit moss, as these metals release moss-killing ions.
Finally, applying a moss-resistant treatment after cleaning provides an added layer of protection. Addressing these factors can significantly reduce the likelihood of moss returning to your roof.
Other Roofing Tips:


