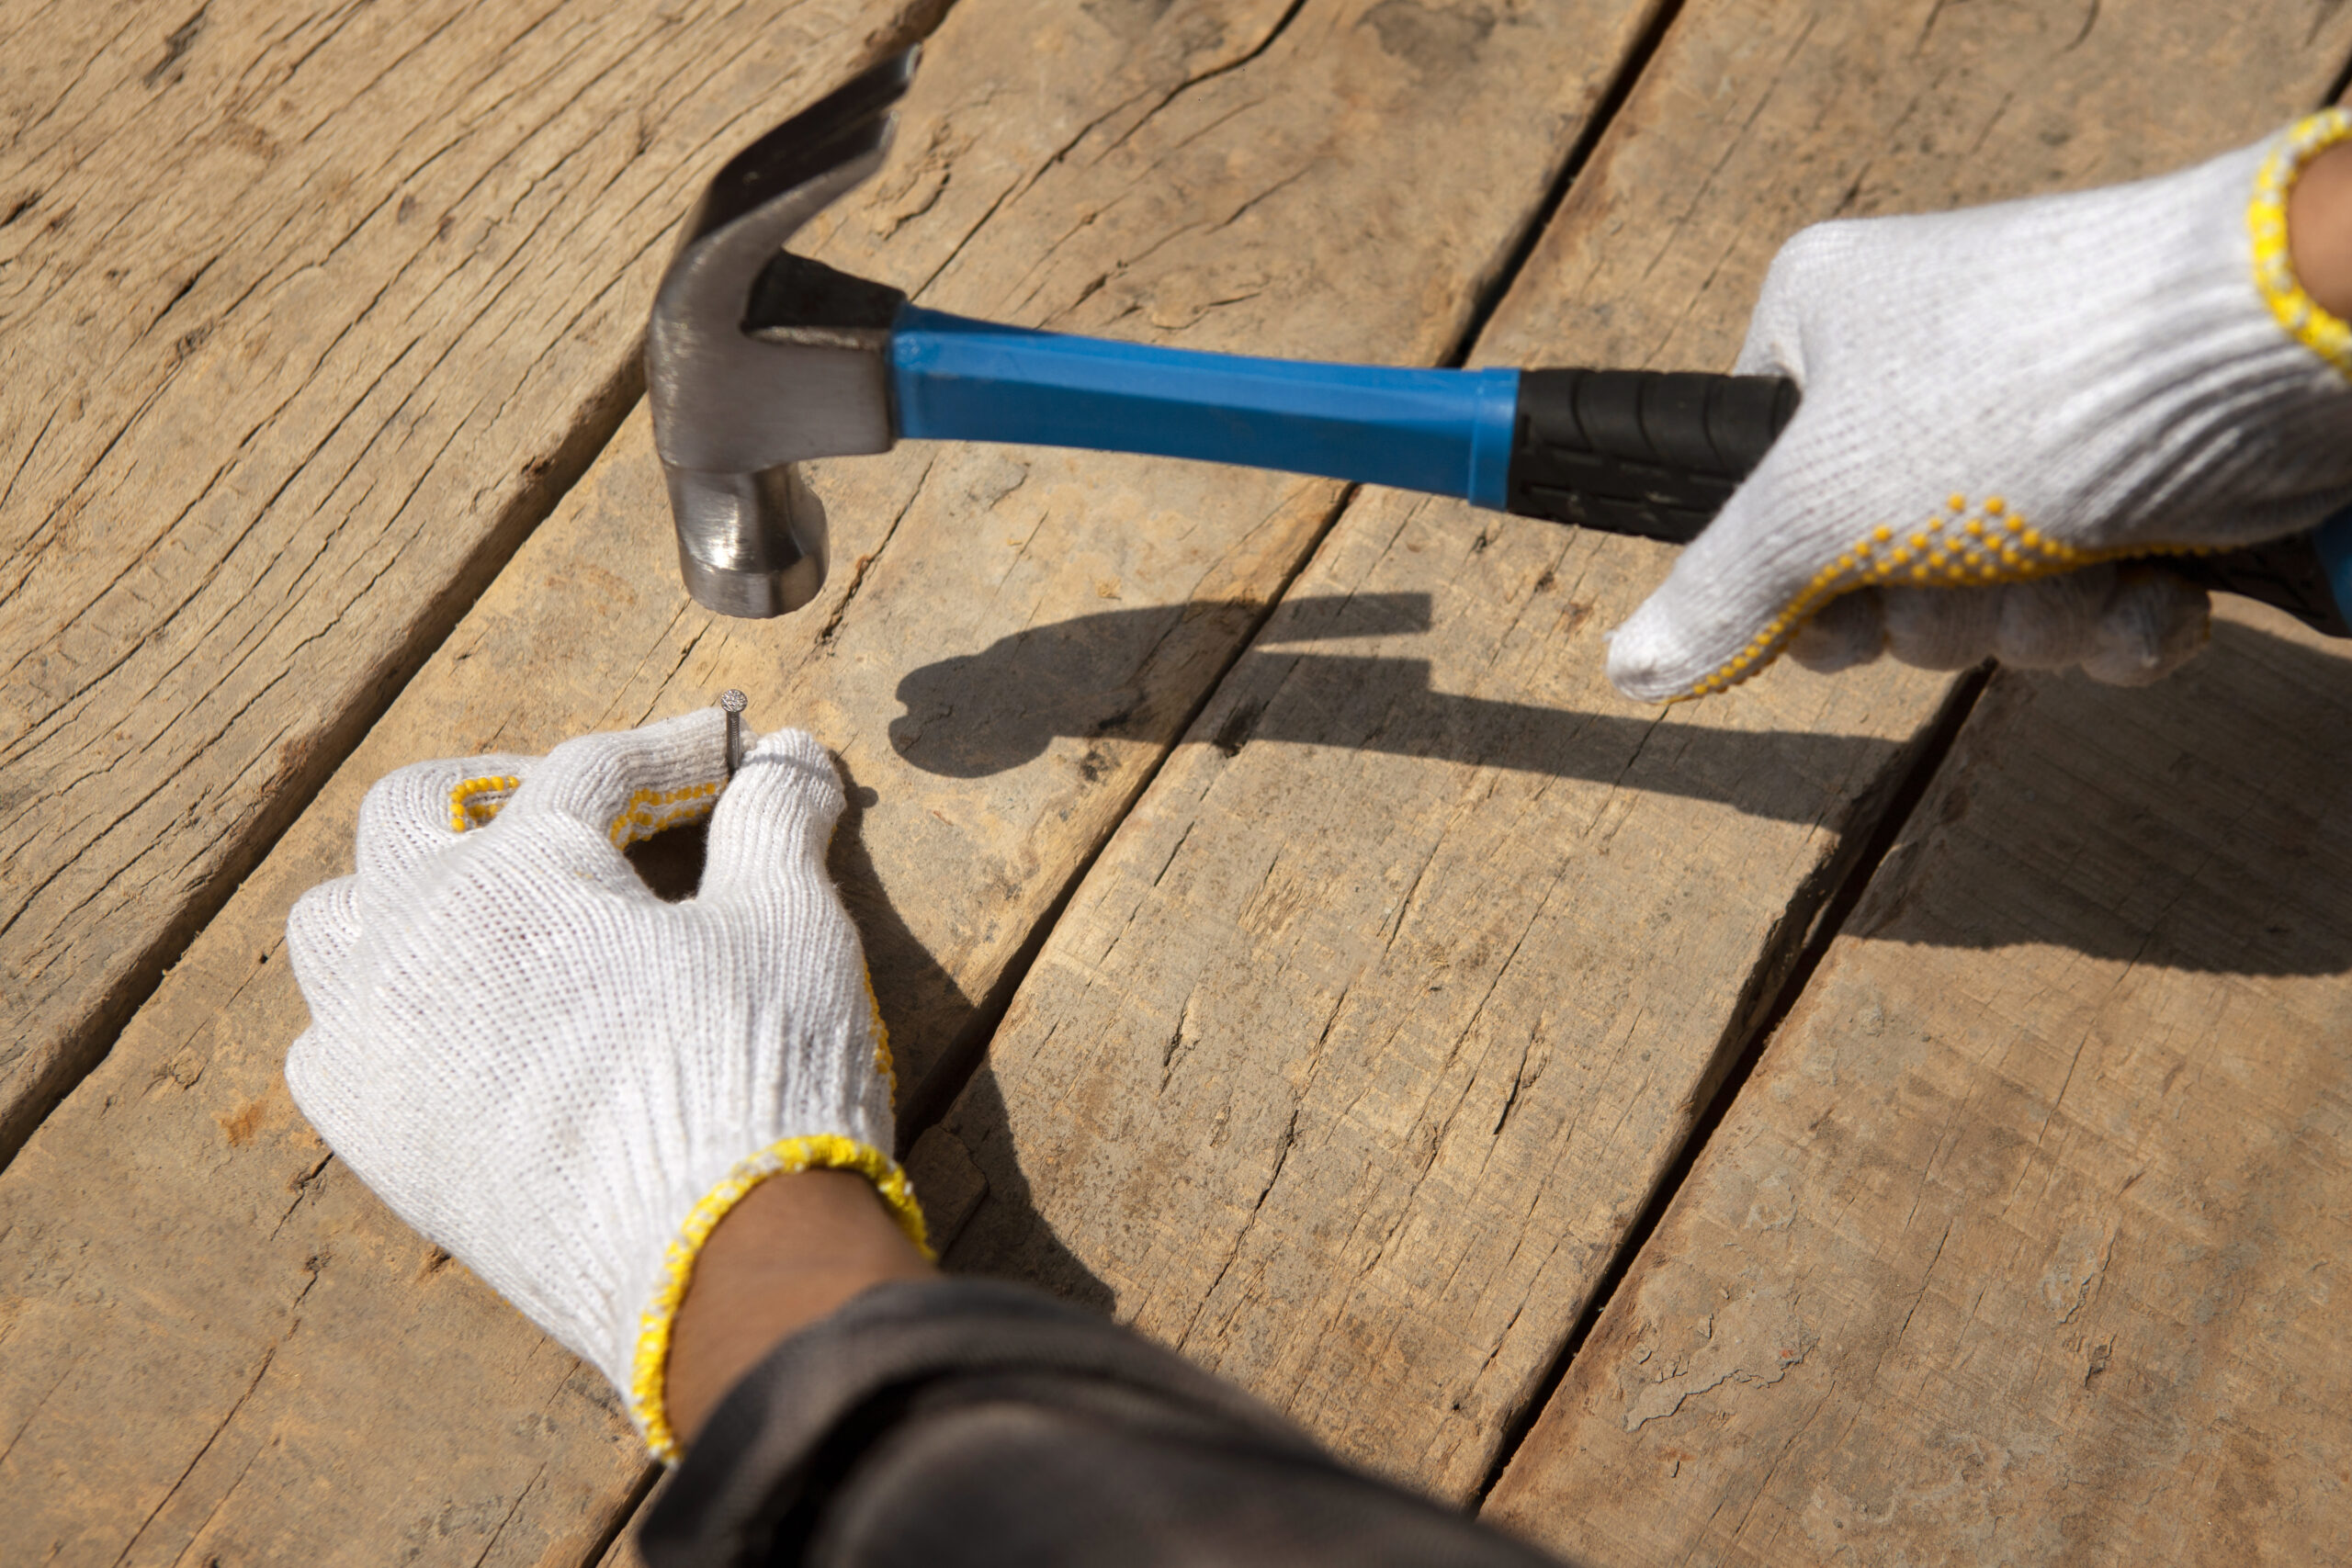
Proper nail placement and technique are crucial factors in ensuring your roof’s longevity and weather resistance. Incorrect nailing is one of the most common causes of shingle failure and roof leaks. This comprehensive guide covers the essential aspects of proper shingle nailing, from nail selection to placement patterns, helping you achieve a professional-quality roofing installation.
Nail Selection and Quality Requirements
Choosing the right nails is fundamental to proper shingle installation. Roofing nails should be corrosion-resistant, typically hot-dipped galvanized or aluminum, with a minimum 11- or 12-gauge thickness. The nail length must be sufficient to penetrate through the roofing material and at least 3/4 inch into the roof deck. For standard asphalt shingles, this usually means 1-1/4 inch nails, though longer nails may be needed for thicker shingles or multiple layers. The nail head should be at least 3/8 inch in diameter to provide adequate holding power without pulling through the shingle.
Nail Placement and Pattern Guidelines
Standard shingle installation typically requires four nails per shingle in normal conditions, and six nails in high-wind areas. Nail placement should follow the manufacturer’s specified nailing zone, usually marked on the shingle. Place nails approximately 1 inch above the cutout slots and below the sealant strip. Space nails evenly across the shingle, with outer nails placed 1 inch from each edge. In high-wind areas, additional nails should be placed according to the manufacturer’s high-wind installation instructions. Proper nail placement ensures optimal wind resistance and prevents shingle blow-offs.
Essential Nailing Techniques
Proper nailing technique is critical for shingle performance. Drive nails straight and level, not at an angle, ensuring the nail head sits flush with the shingle surface. Avoid overdriving nails, which can tear the shingle and reduce its wind resistance, or underdriving, which prevents proper sealing and can create raised areas that damage overlying shingles. Use a properly adjusted pneumatic roofing nailer for consistent results. The pressure should be set to drive nails flush without cutting into the shingle surface. Hand nailing requires careful attention to maintain consistent depth and angle.
Common Mistakes and Solutions
Several common nailing mistakes can compromise roof integrity. High nailing, where nails are placed above the manufacturer’s nail line, reduces wind resistance and can lead to shingle failure. Crooked or angled nails decrease holding power and may allow water penetration. Overdriving nails damages shingles and creates potential leak points. To avoid these issues, regularly check nail placement and depth, adjust air pressure as needed when using pneumatic nailers, and replace any improperly placed nails immediately. Pay special attention to nailing in valleys, around penetrations, and at roof edges where proper technique is especially critical.
Weather Considerations and Special Situations
Temperature affects shingle pliability and installation requirements. In cold weather, be careful not to crack or damage shingles during nailing. Warm weather makes shingles more pliable but also more susceptible to damage from overdriving nails. Special situations like steep slopes, valleys, and penetrations require modified nailing patterns and additional fasteners. Hip and ridge caps typically require different nailing patterns and may need longer nails. Always consult manufacturer guidelines for specific requirements in these situations.
Other Roofing Tips:


